hexo-fluid 美化指南
hexo-fluid 美化指南
注意:本文仅介绍 hexo-fluid 的美化方法,不介绍搭建方法。
注意:所有改动都要重新部署才能生效。(大概?)
方法:在博客根目录执行指令:
1 | |
确认可以之后执行:
1 | |
引言
众所周知作为 oier,大部分人都会有一个博客。
但是当你真的搭建了一个博客之后,会发现好像和网上其他大佬的博客相差很远。
这时候,你就需要美化你的博客了。
搭建 & 基础设置
这里不涉及搭建方法,如果要学习如何搭建,可以阅读一篇洛谷上的搭建指南(我自己没写,但是未来考虑写一个),比如这个(大力推荐)。
对于一些博客内置的基础设置,可以尝试通过官方技术文档进行设置。
对于官方文档,建议自习地从头到尾读一遍。
重要的几个:
- 在
_config.fluid.yml中搜索关键词math,将enable设为true,才能开启数学公式的渲染。
美化
这里的美化方法都经过实战检测其实就是直接看你现在在的这个博客,效果就是这样。
前置定义
本文中一旦出现关键词 custom_js,那么都指这个部分:
一旦出现关键词 custom_css,那么都指这个部分:
页脚
评论
敬请期待
统计访问次数
fluid 自带的教程(这里)中的两种方式我自己是试过的,但是都没什么效果。个人使用的方法是经典个人主页统计。
方法:
- 访问这里,按照提示创建一个自己的名字。
- 找到
_config.fluid.yml,找到下面这个部分(检索关键词footer)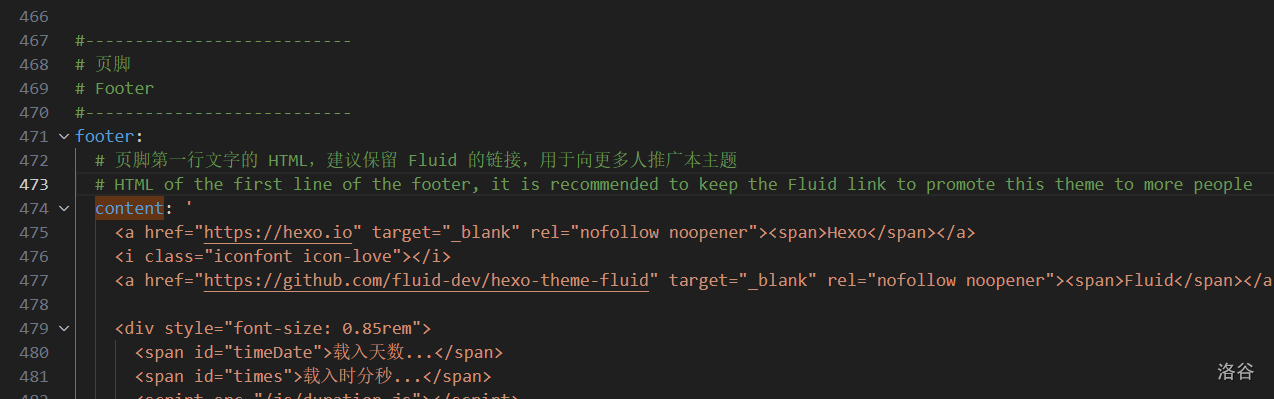
- 在下面的 html 中插入一段内容:
<img width="【修改】" height="64" src="https://count.getloli.com/@【修改】?name=【修改】&theme=3d-num&padding=8&offset=0&align=top&scale=1&pixelated=1&darkmode=auto" alt="【修改】">。其中第一个【修改】为图片的宽度和高度,可以不填(那么必须要去掉这两个属性,但是填上是为了在未加载出图片时不会用默认加载动画的大小来预设图片的大小,不然非常奇怪)。第一个数值计算方式:(你在设置图片的时候设置的位数*46)其中你在设置图片的时候设置的位数默认为 7。第二,三个【修改】是你在第一步创建的名字。 - 注意:不知道为什么,我的博客要把这个 html 标签放在所有页脚的最后一个位置,不然后面的内容会加载不出来。
页脚显示运行时间
- 在
根目录/themes/fluid/source/js目录下创建一个duration.js,内容为:
1 | |
- 找到
_config.fluid.yml,找到下面这个部分(检索关键词footer) - 在下面的 html 中插入一段内容(尽量插在访问次数统计的前面):
1 | |
显示随机英文句子
本部分根据官方博客经个人总结而来。
这里我没有使用一言,而是使用了 Rainbow 来展示句子。
- 在
./themes/fluid/source/js目录下创建一个englishwordshow.js,内容为:
1 | |
- 找到
_config.fluid.yml,找到下面这个部分(检索关键词footer) - 插入一下 html:
<p>每日一句:<a id="rainbow" href='' target="_blank">🌈 获取中...</a></p>,格式可以自行调整。 - 注意:我这里不知道为什么要插入两行一样的代码才能显示出来。
- 在
custom_js中插入一行:
1 | |
注释可选,但是建议加上,防止之后自己看不懂。
页面
背景动态黑色线条
- 在
custom_js中加入:
1 | |
- 在
./themes/fluid/source/js目录下创建一个black_point_under.js,内容为:(参数在注释中调,原本压行的代码我把它展开了)
1 | |
- 保存
樱花花瓣飘落
- 在
custom_js中加入:
1 | |
- 点击这里并下载图片或在下面使用另一段代码(
就是直接把图片用 base64 编码后放代码里了) - 如果下载了图片:将下载的图片命名为
flower.png,并放入./themes/fluid/source/img/中。 - 在
./themes/fluid/source/js目录下创建一个flower_flow_down.js,如果没有下载图片,内容为上面云剪贴板的代码,否则为下面的:
1 | |
滚动条颜色
- 在
custom_css中加入:
1 | |
- 创建文件
./source/css/gundongtiaocolor.css,内容为:
1 | |
- 滚动条颜色可以自行调整,结合代码可以试试。但这个是我喜欢的。
头部打字机效果渐变
- 在
custom_css中加入:
1 | |
- 创建文件
./source/css/typingchanging.css,内容为:
1 | |
链接下划线效果
- 在
custom_css中加入:
1 | |
- 创建文件
./source/css/linkunderline.css,内容为:
1 | |
结尾
以上就是我个人使用 hexo-fluid 的一些美化方法。如果有其他的美化方法,欢迎分享。
技术交流:我的博客
hexo-fluid 美化指南
https://joshua0729.github.io/2025/08/28/hexo-fluid 美化指南/